
In stock


A pressure washer that leaves a puddle under the skid is not always a major failure.
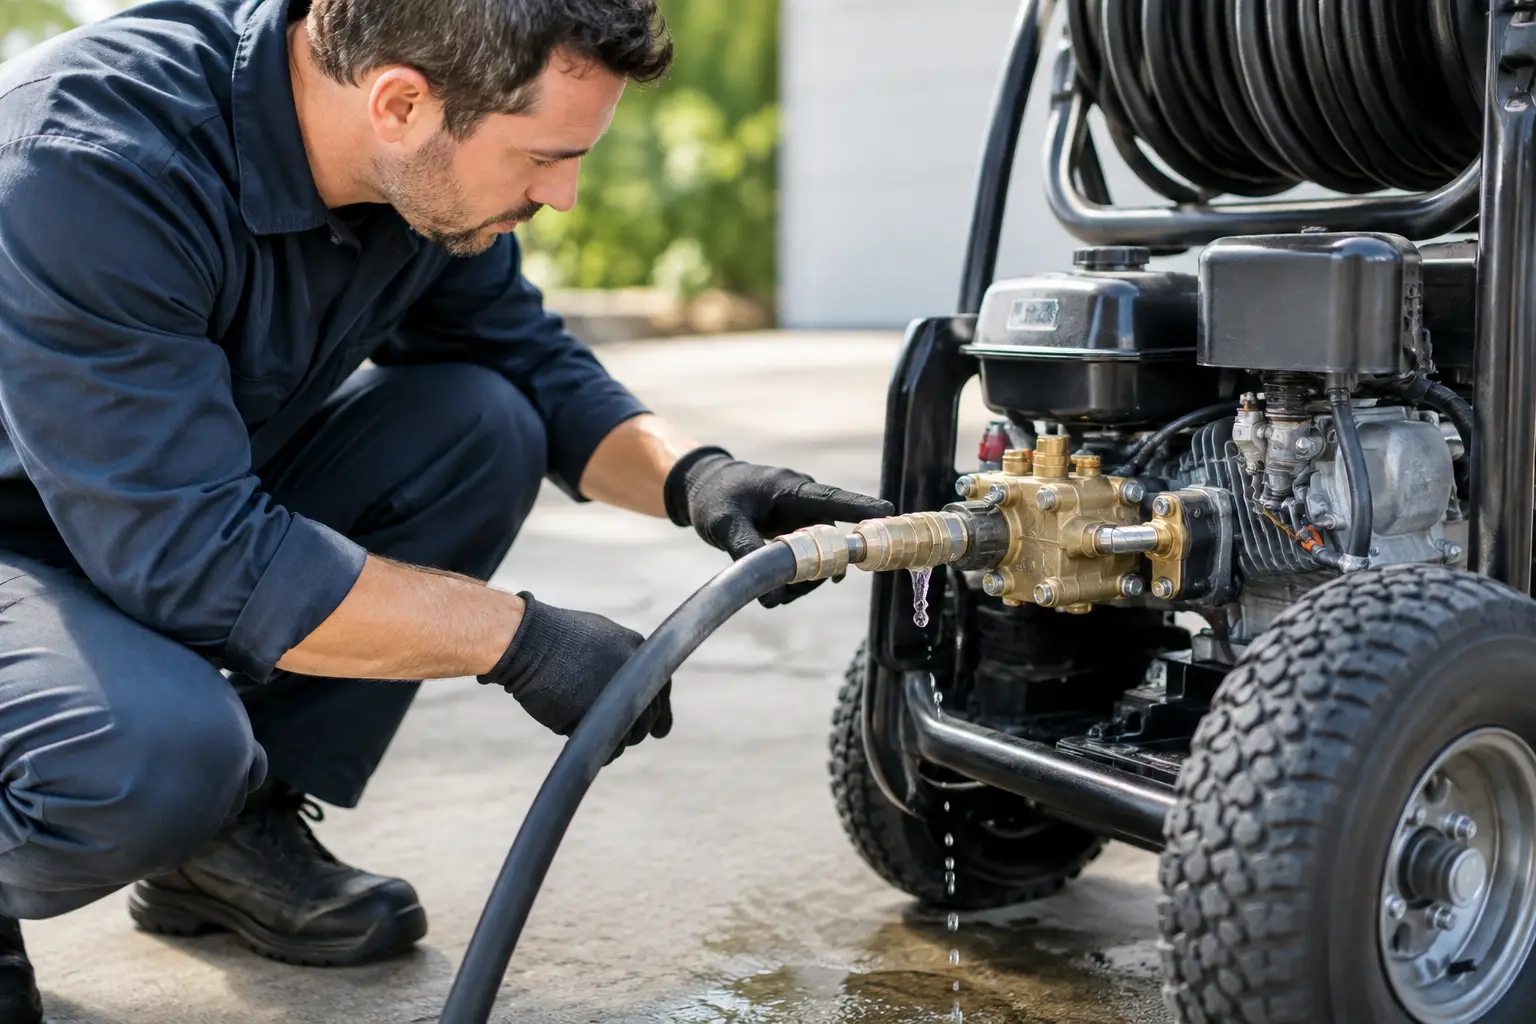
A pressure washer that leaves a puddle under the skid is not always a major failure. But when you diagnose pressure washer leaks early, you can often replace a seal, fitting, or hose before the problem takes out a pump, damages a burner system, or costs you a day of production. The key is to identify exactly when and where the water appears instead of guessing at the nearest wet component.
A commercial machine has several water paths: supply line, float tank or inlet plumbing, pump, unloader, high-pressure hose, gun, lance, and sometimes a heating coil. Water travels through all of them under very different conditions. A loose garden-hose fitting is one problem. A leak that starts only at 3,500 PSI is another.
Never search for a high-pressure leak with your hand. A pinhole stream can inject water and debris into skin, even when it looks minor. Shut the machine off, close the water supply, squeeze the trigger to relieve trapped pressure, and let hot-water equipment cool before touching fittings around the coil or outlet plumbing.
Dry the machine first. Use a rag or compressed air to remove standing water around the pump, fittings, frame, and hose connections. If everything is already wet, the actual source can be several inches or several feet away from the drip point. A clean, dry machine gives you a starting line.
Then separate the leak into one of three conditions: it leaks with supply water connected but the machine off, it leaks only while the machine is running and the trigger is open, or it leaks while running with the gun closed. That one observation narrows the diagnosis quickly.
If water drips as soon as you turn on the supply hose, inspect the inlet side first. Check the garden-hose connection, inlet filter, supply hose, float tank bulkhead fittings, inlet elbows, and pump inlet fitting. A damaged inlet gasket or cracked filter housing can pull air into the pump as well as leak water out.
That matters because an inlet-side leak is not always harmless. Air entering the system can cause pulsing pressure, cavitation, and premature pump wear. If the pump sounds rough, pressure surges, or the machine loses prime, do not treat the leak as just a drip.
On tank-fed rigs, inspect the plumbing between the tank and pump carefully. Vibration loosens threaded fittings over time, particularly on truck-mounted equipment. Look for dampness at hose clamps, ball valves, bulkhead fittings, and the inlet check valve. A connection can be dry at rest and leak once the pump begins drawing water.
A leak that appears only under working pressure usually points to the high-pressure side. Start at the gun and work backward: gun inlet, swivel, quick-connect coupler, lance connection, hose ends, hose cover, pump outlet fitting, and discharge plumbing.
Quick-connects are common trouble spots. A worn O-ring, damaged plug, or incomplete connection can spray water from the collar when pressure builds. Replace questionable O-rings with the correct size and material. Do not stack tape around a quick-connect or force a coupler that does not lock correctly.
Inspect hose ends closely. The outer cover may look fine while the hose is failing at the crimp. A damp or blistered section near a fitting is reason to take that hose out of service. Tape is not a repair for high-pressure hose, and tightening a damaged crimp does nothing. Replace the hose or have a qualified shop build a replacement with the correct pressure rating and fittings.
If the machine leaks or sprays after you release the trigger, pay attention to the unloader and bypass circuit. With the gun closed, the unloader redirects water or reacts to trapped pressure, depending on the machine design. A failing unloader, loose bypass fitting, cracked bypass hose, or leaking thermal relief valve may show up during this phase.
Do not confuse the thermal relief valve with an unloader leak. A thermal relief valve is designed to release hot water when water sits recirculating in the pump long enough to overheat. It may discharge briefly after the gun has been closed for an extended period. Constant dripping during normal operation is different and deserves inspection.
Most leak diagnosis should begin with the simplest, lowest-cost components. Check the hose, gun, lance, couplers, and visible fittings before assuming the pump needs rebuilding. A $2 O-ring can look like a pump problem when water tracks down the frame.
Once external connections are ruled out, inspect the pump and unloader area while the machine runs. Keep clear of moving belts, pulleys, and hot surfaces. Use a flashlight and watch for water forming at a fitting, around the pump manifold, at the unloader body, or underneath the pump.
A pump manifold leak often shows up around the joint between the brass manifold and pump body. Depending on the pump design, the cause may be worn packings, damaged valves, a cracked manifold, freeze damage, or improperly torqued manifold bolts. A pump that froze over winter may have a hairline crack that does not become obvious until it warms up and pressure builds.
Water coming from the bottom of the pump deserves immediate attention. Check the crankcase oil. If the oil looks milky, gray, foamy, or overfull, water may be getting past seals and into the crankcase. Continuing to run it can damage bearings, rods, and the crankshaft. At that point, stop using the machine and plan for a proper pump inspection or rebuild.
Oil leaking from the pump is a separate issue from a water leak, but the two can be related. A bad seal package can allow water into the crankcase and eventually push contaminated oil out. Do not simply top off the oil and return the unit to service. Find the failed seal and determine whether the pump internals have been affected.
Unloaders create confusion because they are often adjusted when the real problem is elsewhere. If water leaks around the adjustment cap, inlet, outlet, or bypass port, do not start turning the pressure adjustment knob. A seal failure, cracked body, incorrect fitting, or thread damage will not be fixed by changing the setting.
Thread sealant also gets misused. Use the proper thread sealant on tapered pipe threads only. Do not apply tape or sealant to straight-thread fittings that seal with an O-ring, washer, or cone seat. Excess tape can break loose, enter the water path, and hold a check valve open or damage an unloader.
If a fitting repeatedly loosens, look beyond the fitting itself. Hose strain, poor routing, vibration, and an unsupported hose reel connection can keep working it loose. The repair may require a swivel, support bracket, different fitting orientation, or a longer whip hose rather than more thread tape.
On hot-water equipment, inspect the coil inlet and outlet plumbing, high-limit fittings, pressure relief components, and any unions around the heating system. Heat cycles can expose weak seals and loosen fittings that looked fine on a cold machine.
A coil leak needs prompt attention. Water escaping in the burner area can create steam, affect combustion components, and damage insulation or wiring. If you see water around the coil housing or burner compartment, shut the burner down and identify the source before continuing. Do not assume every leak near a hot-water skid is coming from the coil itself. It may be a fitting above the coil that is tracking water downward.
Also look at your operating conditions. Running with inadequate supply water, a clogged inlet filter, or a badly restricted nozzle can make pressure behavior erratic and expose marginal components. The leak may be the visible symptom, not the original cause.
Replacing a gun O-ring, reseating a coupler, tightening a sound fitting, or changing an accessible inlet hose is usually reasonable in the field. A cracked pump manifold, recurring unloader leak, water-contaminated crankcase, damaged coil plumbing, or failed high-pressure hose is not where shortcuts pay off.
Before ordering parts, record the pump model, machine model, pressure rating, flow rate, and the exact location of the leak. PSI and GPM matter. A fitting or hose that physically threads on may still be wrong for the machine's pressure, temperature, or flow requirements.
For operators around Central Pennsylvania, Dieter’s Industrial can inspect the machine, provide a repair estimate before work begins, and give a straight answer when the repair cost no longer makes sense. The right repair is the one that gets the machine back to dependable service, not the one that merely stops the visible drip for a day.
Treat a leak as an early warning, not a cleanup problem. A few minutes spent locating the source while the failure is small can protect the pump, keep a crew on schedule, and prevent the next job from becoming the place where the machine finally quits.
Everything the guide mentions, on the shelf in Lewisberry and shipped same day on orders in by 2 pm.
If the checks above did not get it running, stop throwing parts at it. Drop it at the shop in Lewisberry or ship it in, we diagnose it, and you get a number before any work starts. Every brand, not just the ones we sell.
We will pre-fill "Leaking water or oil" on the form — change it if that is not quite it.